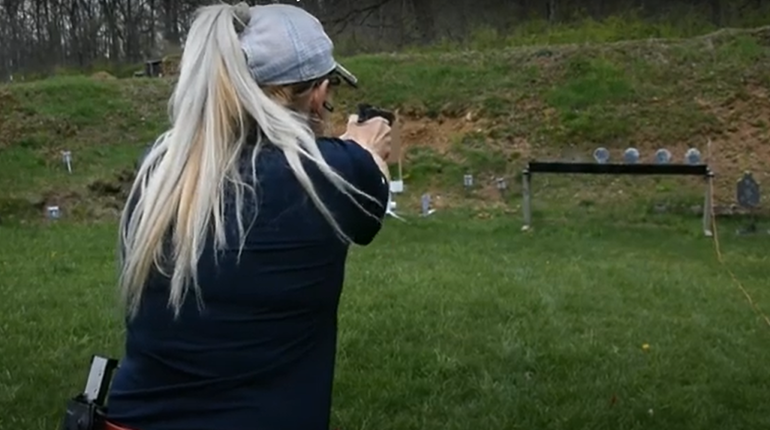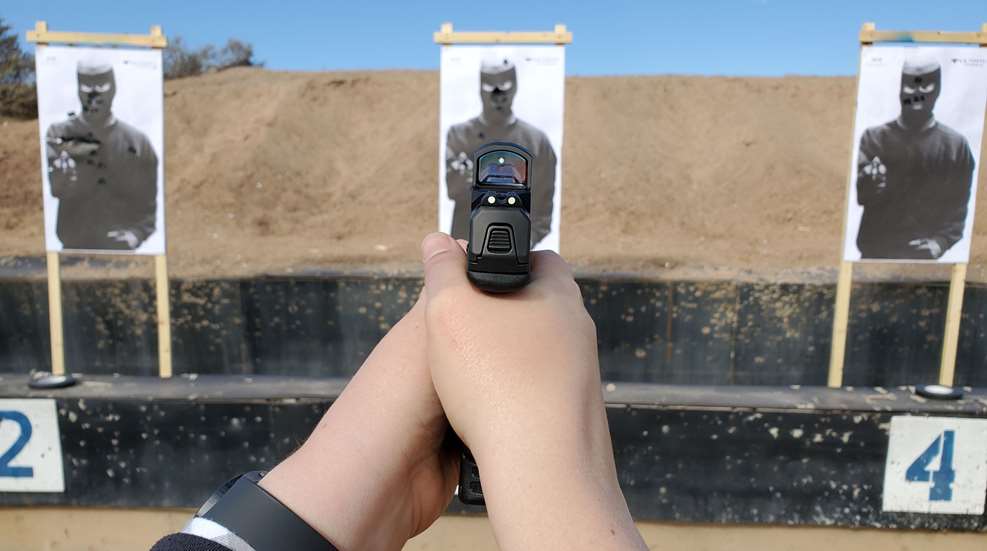
When I say my dad “taught me” how to shoot, it wasn’t as much of a shooting lesson as it was a safety lesson followed by “now put the sights on the target and pull the trigger when you’re ready.” And that’s not incorrect, but there was no instruction on what “sights on the target” was actually supposed to look like. I just kind of figured things out and kept experimenting until I was hitting the target. It wasn’t until years later, when I was new to a career in the firearms industry and had the opportunity to work with some actual instructors, that I learned what proper sight pictures look like. Nothing against Dad—I bet many gun owners have had similar experiences. Sight picture is one of the things people assume is common sense to everyone, but the fact is, it’s not an automatically intuitive thing for most of us.
If, like me, no one taught you what sight pictures are supposed to look like when shooting different types of guns/sights, let me explain.
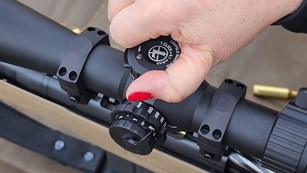
Scoped Rifles and Red-Dot Optics
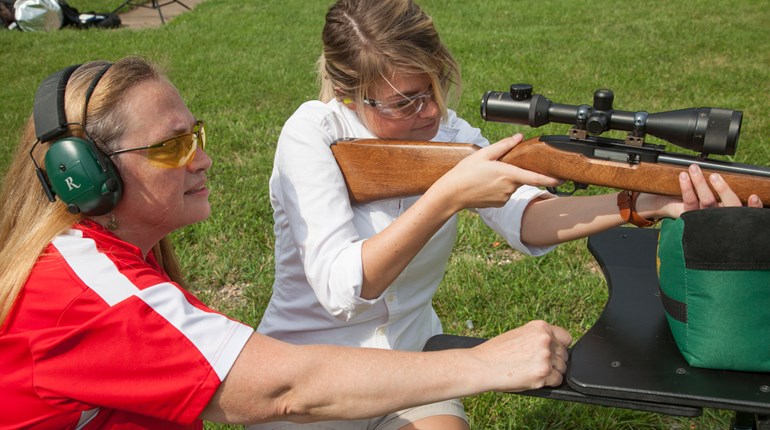
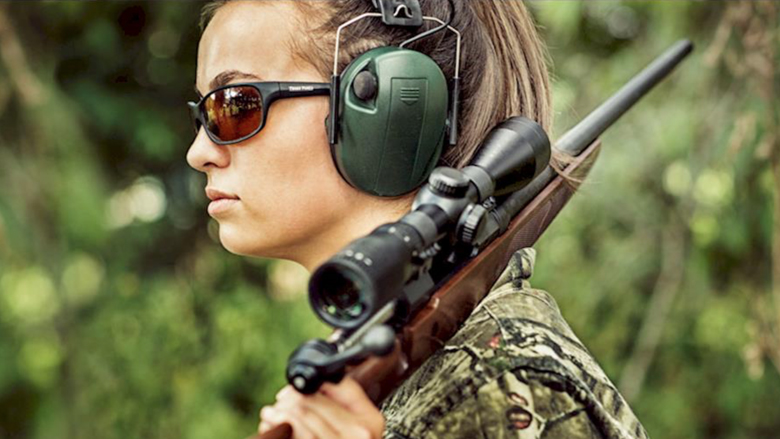
This one is easy, and because a riflescope or red-dot optic typically has an obvious aiming point/crosshair, most of us will get this sight picture mostly correct without having to be taught. It’s pretty simple: Put the aiming point right on top of the spot you want to hit and pull the trigger. The part that’s not intuitive is that you should be focusing on the reticle or the dot, not on the target. Let the crosshairs be sharp and the target out of focus in the background. This won’t make a big difference when you’re shooting a deer at 100 yards, but the farther out you go and the more precision you’re looking for, the more important it will become.
Iron-Sighted Rifles or Handguns
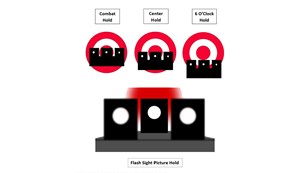
Iron sights come in a variety of forms, but most of them boil down to two outer dots or posts and a third inner dot or post. We’ll use the three-dot version for purposes of this discussion. In this configuration, the rear sight is two dots with a space in between, and the front sight is a single dot. You want to line the three dots up so that they all sit in a horizontal line, even at the top and bottom—the front, center dot should not be higher or lower than the outer dots. Furthermore, you want to make sure the center dot is truly centered in between the other two, with equal spacing on the left and right sides. It shouldn’t be touching one dot with a large gap between it and the other side—let the gap be equal. This applies to post-style sights as well as dots; if your rear sight has posts instead of dots, you still want everything lined up and equally spaced top to bottom and side to side.
Now, let the top of the center dot cover the exact spot on the target you want to hit, maintaining that equal, lined-up alignment we just talked about. This is a common method of open-sight shooting, sometimes called the “center hold.” You can also use the middle of the center dot and hold it on the exact spot you want to hit, rather than using the top of the center dot. This covers up the target a little bit more. One or the other of these methods is likely to work better with your specific sights depending on how they’re designed, so experiment and see, and adjust the sights if possible and needed. This video explains the method well and has great illustrations.
Aperture or Peep Sights
These are another form of iron sights that you might come across. In this type, the rear sight is a circle and the front sight is a dot or a post. Like the three-dot iron sight system described above, you want to center the front post or dot in the circle (side to side as well as top to bottom) and superimpose it on top of the target.
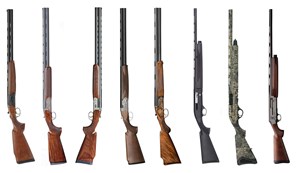
Shotguns
Wingshooting shotguns are totally different in that you’re looking at the target, not the gun or sights, and you’re pointing the gun where the moving target is going to be, not where it actually is at the time. Thus you usually won’t see the muzzle on top of the target at all unless it’s a straight-on going-away shot with no crossing motion.
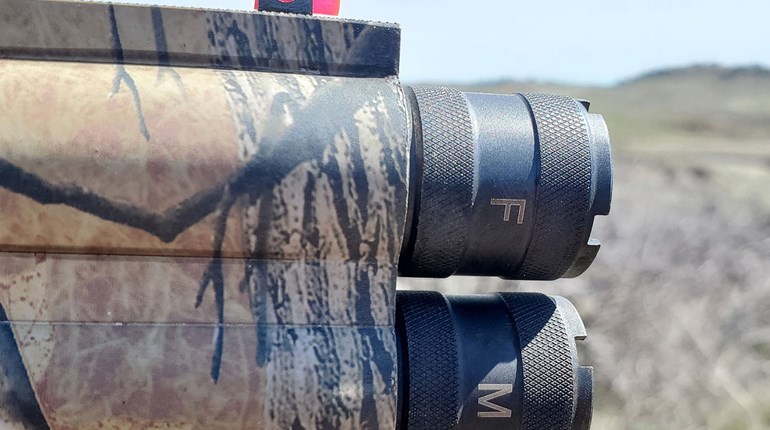
Some specialty sighting systems involve mid-beads or peep-style sights for shotguns, but these are the exception rather than the rule. Typically, with a shotgun, your eye is the rear sight, and the “front sight,” if you can call it that, and if there even is one, is a simple bead. This is the reason that proper fit is so important with a shotgun—if it doesn’t fit you correctly, your eye won’t be in the proper place to act as rear sight to line up the shot.
To get this right, unload your gun (triple-check it, please) and stand in front of a mirror. Mount the gun as horizontally level as possible and look down the barrel at your eyeball in the mirror. What you want to see is your eyeball sitting directly on top of the gun’s rib like a marble on a table—not hovering over it, and not partially obscured by it, but just barely touching it. In addition, the eye should be centered left to right, not off to one side of the rib. Until you can mount the gun naturally in the position and obtain that perfect eye alignment, the gun does not fit you properly and you will struggle to shoot it well—or at least you’ll have to check the alignment each time you mount, which costs you time and is definitely not conducive to good shooting. I should know, as I’ve spent a career being handed off-the-rack shotguns at industry events and having to mount them in all kinds of weird ways to make it work. Trust me—you don’t want to have to do that with your gun. I don’t shoot very well this way.
Now that your gun is fitted and you’ve got your eye in the proper spot, you need to learn to focus on the target while letting your gun barrel float in your periphery somewhere ahead of the target. OSP Shooting School has an excellent drill for this called the Three Bullet Drill. Essentially, you set up three bullets or shotshells (or three cans of soup, or three whatever) in a line about a foot apart. Focus on the center bullet, then mount the gun pointed to the right bullet. Pay attention to what this looks like—you’re simulating looking at where a flying target is and pointing the gun at where the target is going to be (lead). You’ll see the muzzle sort of blurry in your peripheral vision, but you should not look at it. Keep your focus on the target, in this case, the center bullet. Repeat on the other side.
This is counterintuitive, especially if you’re a long-time rifle or pistol shooter who is used to looking at a sharp aiming point/reticle with a blurry target. Wingshooting is the opposite—the target should be in crisp focus while the “front sight,” which is the bead or the muzzle, is blurred out and not even on the target at all.
Repeat the Three Bullet Drill frequently until it gets easier and your brain starts to accept what it looks like to focus on the target and point the gun somewhere else. Then you’re going to have to go shoot a lot to build a shot library in your head of what the sight pictures look like on different flight paths. It’s the most fun “homework” you’ll ever have!
