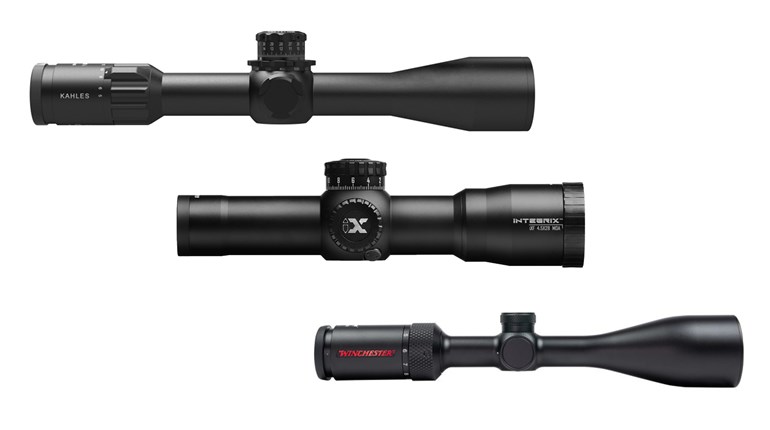
Though most of us utilize a riflescope on our hunting or long-range precision rifles, few of us (myself included) truly grasp the real complexity of our optics. We know to turn this dial to do one thing and turn the other dial to do another thing, and that’s about it.
Truth is, that’s really enough for most of us. Studying optics gets you deep into the weeds very quickly, and most of us don’t need to know exactly how the image we’re seeing through our scope is produced. But knowing just a little bit about what’s going on inside that scope will help you better understand why and how your dials work the way they do.
First, a quick primer on what those dials (called turrets) do.
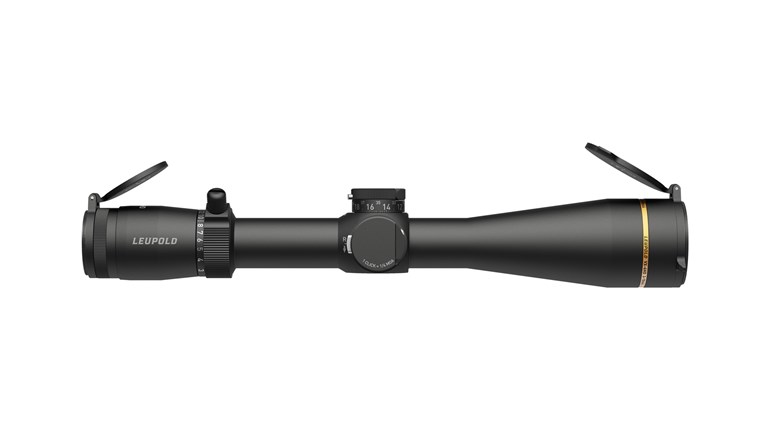
Top Turret: Elevation
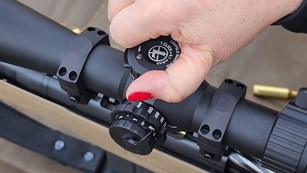
The dial on top of your scope adjusts the elevation. When you are sighting in a rifle, you’ll use this dial to adjust the crosshair so that it aligns with where your bullet is impacting the target. There will be an arrow on the turret that shows you which direction is up and which is down. You’ll actually be moving your crosshairs, but the rule is to dial in the direction you want the point of impact to go—if your bullet is impacting high and you need it to impact lower in order to line up with the crosshairs, dial down. If it’s impacting low, dial up so the point of impact is moved up. When the projectile hits the target at the spot where your crosshair is placed, the gun is zeroed.
After zeroing, you might use this turret to dial for distance using a ballistics app to tell you your projectile’s drop. This is primarily used in long-range shooting.
Side Turret: Windage
Just like the elevation turret moves the crosshairs up and down, the dial on the side of your scope moves them left to right. You can use this when sighting in as well, and most shooters will zero their rifle and then not touch their windage turret again — in most long-range shooting, holding left or right using the reticle is much faster and more convenient than turning the dial. Again, there will be an arrow showing you which way to turn the turret for left or right adjustments. Dial in the direction you want the bullet to go.
This side turret might also have a ring you can turn for parallax adjustment. We often think of this as focusing the image, and in a way it is, but the important thing about parallax is that the reticle should be on the same plane as the image of the target. If you can move your eye—physically move your head—slightly and the reticle moves around the target, your parallax needs adjustment. Turn the ring until the crosshairs remain on the target when your eye moves around. A well-focused is a byproduct of proper parallax, not the other way around.
Rear Ring: Magnification
The ring around the scope lens closest to your eye (the ocular lens) increases the magnification of the image you’re seeing. The more you magnify the image, the smaller your field of view gets.
How Those Adjustments Actually Happen
This might seem incredibly simple and obvious, but it’s something I was never taught until recently, and once I learned it, optics made so much more sense.
Your riflescope consists of a tube with a lens on each end. Inside that tube is another tube, called the erector tube. It contains the actual magnification lenses as well as the reticle, although the reticle’s location within the erector tube will vary depending on whether it’s a first focal plane or second focal plane scope.

Here’s the part that clicked for me: Your turret adjustments are physically moving that inner tube around. When you’re dialing the top turret down to adjust your elevation, you’re literally pushing the erector tube (and thus the crosshair) down. When you dial it up, you’re releasing spring pressure on that tube so it can move back up—and, of course, the crosshair moves with it.
The same happens with the windage turret. Each little click you dial that turret moves the erector tube left or right.
When you turn the magnification ring on your scope, you’re physically moving the erector tube forward and back. Increasing the magnification moves the tube—and thus the magnifying lenses—forward toward the objective lens. Decreasing the magnification moves the tube back toward the ocular lens.
When you have dialed your ring or spun your turret as far as it will go, you’ve literally pushed the erector tube to the top, bottom, front or back of the scope as far as it can physically fit. It won’t move anymore, and thus you are out of windage, elevation or magnification adjustability.
OK, maybe this tube-within-a-tube explanation isn’t as eye-opening for you as it was for me, but it’s a helpful and simple way to understand what’s actually going on inside your scope when you’re making adjustments. You don’t need a deep, optical-engineer level of knowledge in order to get the most out of your riflescope, but a basic understanding of how things work will go a long way and give you more confidence in your adjustments.


