For the past few years, I’ve preferred to shoot 9 mm handguns at the range. So when I was ready to move up to a .45-cal. pistol, I reached out to a friend of mine and asked if I could meet him at a range and borrow his. I don’t like to purchase a new firearm unless I shoot it first, either by renting one at an indoor range, or borrowing a friend’s.
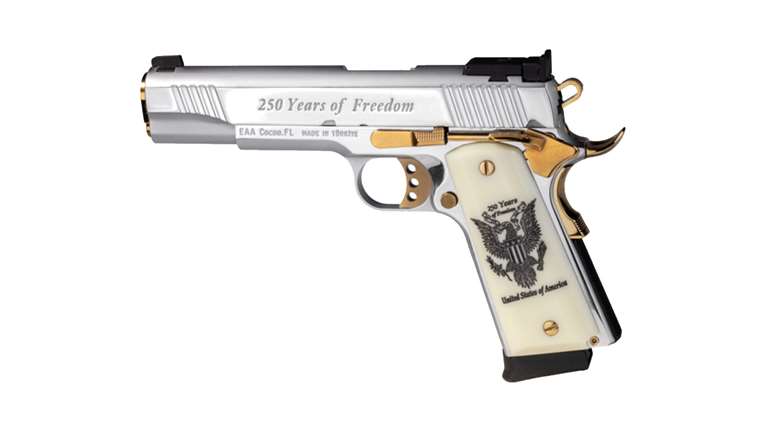
He handed me his Springfield Armory 1911 A1 Standard .45 cal., and I fired away. My cluster was terrible! So we changed ammo, from a 230 grain down to a 185-gr. cartridge, and my shot pattern improved a bit, but not by much. He suggested video taping me while I was shooting, so we could watch what I’m doing wrong. Turns out that since it had been a long time since I shot a .45 cal., I was really jerking the trigger, resulting in pulling the gun down and to the left. Well, that solves that mystery!
Trigger control is one of the most important shooting fundamentals. Proper trigger control involves pulling the trigger without causing any movement of the aligned sights. The pressure should be applied in a rearward direction, not to the side, up or down.
How To Achieve Good Trigger Control
To master this technique, you want to apply slow, gradual pressure on the trigger. Don’t yank or jerk the trigger. You should be able to give it a gentle, backward pressure toward you. If you have to struggle to pull the trigger, then maybe the gun is not for you.
The key words to remember here are, “Squeeze, and then stop.” Granted, this can be difficult to do if your pistol has a heavy trigger pull. I’ve noticed that many of the concealed-carry handguns my students bring to the range have a long, heavy trigger pull. This is on purpose. It’s one of the safety measures that prevent the shooter from accidentally depressing the trigger while it’s moving around in its holster when carried on-body, or in a handbag. This is one of the many trade-offs that concealed carriers make when choosing the right gun.
Proper Finger Placement
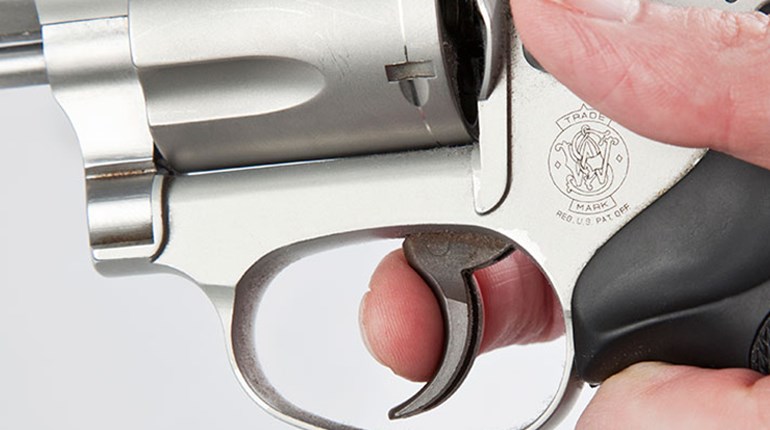
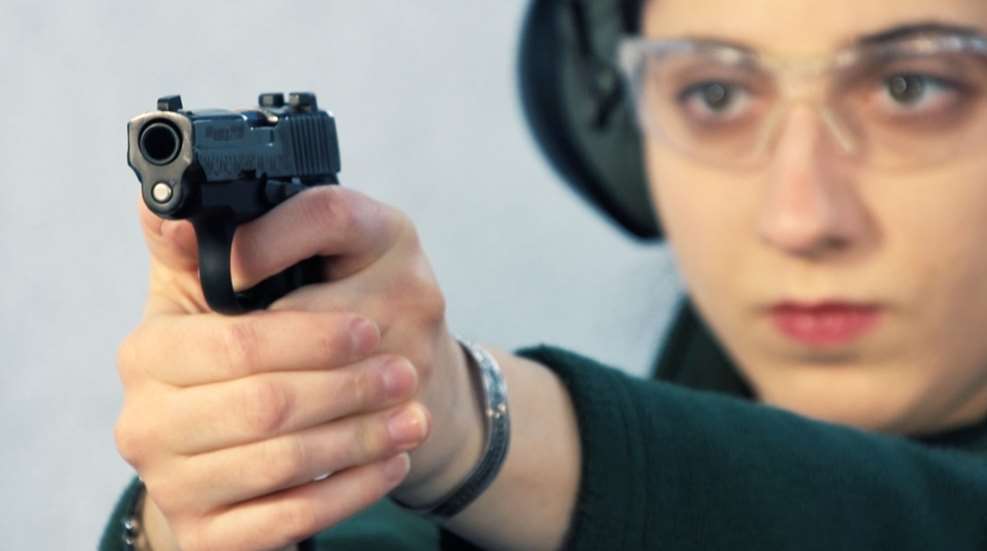
Another tip to achieve good trigger control is proper placement of your trigger finger on the trigger. This will allow the force of the pull to be directed straight to the rear, reducing any jerking, which moves the gun to the left or right. For single-action shooting, the trigger should be pulled using the middle of the last pad of your trigger finger. For double-action shooting, the trigger should be placed on the joint between the last and middle pads of your trigger finger.
Penny and Dry-Fire Drills
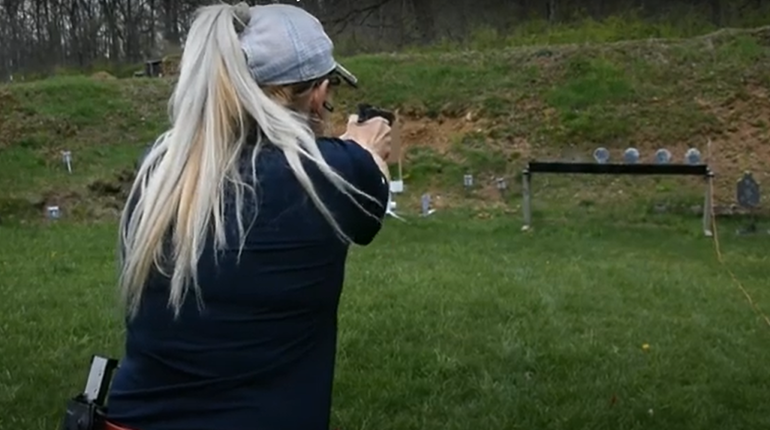
To test your trigger control, place a penny or a dime on top of your front sight. Your goal is to keep the coin from falling off while you aim and fire. Another practice is to dry-fire your gun while someone observes you to see if you are jerking the trigger. While dry-firing most modern firearms is safe, check with your gun’s owner’s manual, or use snap caps (dummy rounds) in the correct caliber for your gun. Snap caps do not contain any gunpowder.
About the Author: Maureen Sangiorgio is an NRA Certified Firearm Instructor/Range Safety Officer. She can be reached directly at maureenwriter.com.
Additional Reading:
Troubleshooting Your Target: When You're Shooting Left
Troubleshooting Your Target: When You're Shooting Right
Troubleshooting Your Target: When Your Grouping Is Scattered
Troubleshooting Your Target: Sight Alignment Mistakes
