The first step to maintaining a properly functioning firearm is proper cleaning of the gun. The word “proper” is the key here! As an NRA Firearms Training Counselor, I’ve heard some misinformation about the importance of and best methods to clean your gun.

There is an incorrect contemporary belief that cleaning your firearms isn’t necessary. In almost every class I teach there are at least one or two younger students who insist that gun cleaning is not important. They further state that their guns shoot better, the dirtier they are. I have even heard from students that you only need to get your pistol “sonic cleaned” once a year!
Although I never want to tell a student that they are incorrect, I do try to help them get to the correct answer. In the case of gun cleaning, it is imperative to always, always, always clean your firearm every time you bring it out of the safe or gun case, and especially after a day shooting at the range. When a cartridge is discharged, powder residue and particulates from the ignition process remain in the firearm. This residue can affect the proper functioning of the gun by reducing accuracy and causing malfunctions by gumming up the action. This can cause feeding problems, stovepipes and double feeds. All of this affects your safety, particularly if you must rely on your firearm in a defensive situation. That’s why there are no shortcuts to gun cleaning.

Yes, this includes boresnakes! Boresnakes are great for removing fouling while you are at the range or a quick fix while in the field, but are not a substitute for a thorough cleaning when you return home. Gun cleaning is a deliberate process to remove all the powder and gun residue from the firearm.
There is a proper way to clean a gun. Like any job or task you perform, you need the right tools. Use only proven products when it comes to solvents (bore cleaners) and gun oil. Try to stay away from all-in-one products such as a combined solvent and oil cleaner/lubricant. These products are becoming more prevalent because consumers are looking for anything to make their task easier. Solvents and gun oils do two different things. A good solvent should remove any firearm residue as well as any oil present.
There are a lot of new products on the market today for gun cleaning. If you want to try new products, do your research first. I have seen products that specifically said in the fine print such caveats as “only use on composite (AR-type) firearms”; “not to be used in cold weather conditions" and others. Using the wrong cleaning solutions can cause damage to the firearm or stock. It can also cause malfunctions such as feeding issues—like double feeds or stovepiping—by gumming up in the action during cold weather.

Always take the time to clean your firearm correctly and do it often. Your firearm should be cleaned every time it is fired. It should also be cleaned if it unused for extended periods. Remember, dust has a way of finding its way into every nook and cranny, and that includes your firearm’s action. After cleaning, your firearm should be stored in a cool, dry place, separate from its ammunition. If it is a firearm used for self-protection and carried on your person, it is impossible to keep it in a cool dry place. In the case of a self-protection gun, proper gun cleaning should be performed frequently regardless of whether if it has been shot or not.
Step-by-Step Gun Cleaning
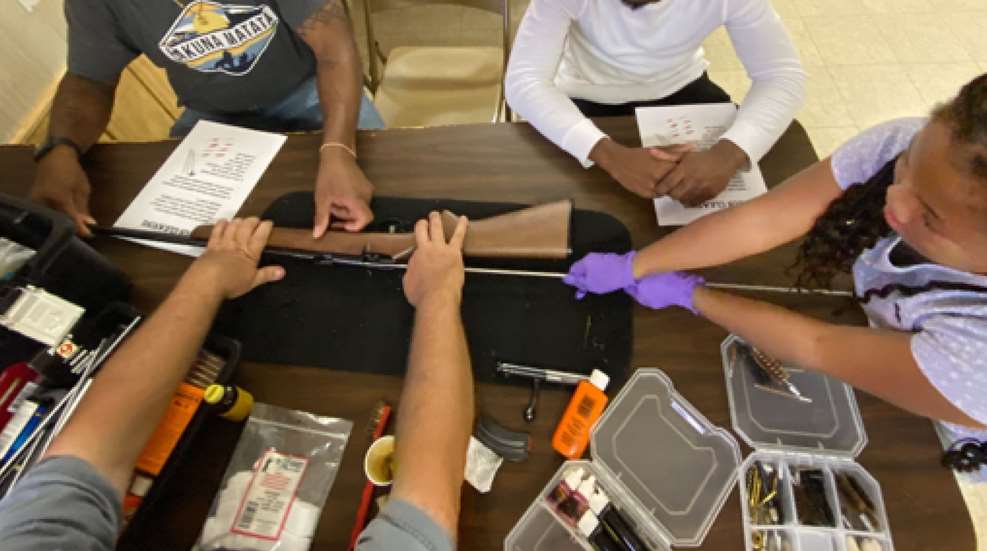
1. Make sure the firearm is completely unloaded and ammunition is far away; open the action, remove or visually inspect the empty magazine, visually inspect the chamber; then double-check again to ensure firearm is empty.
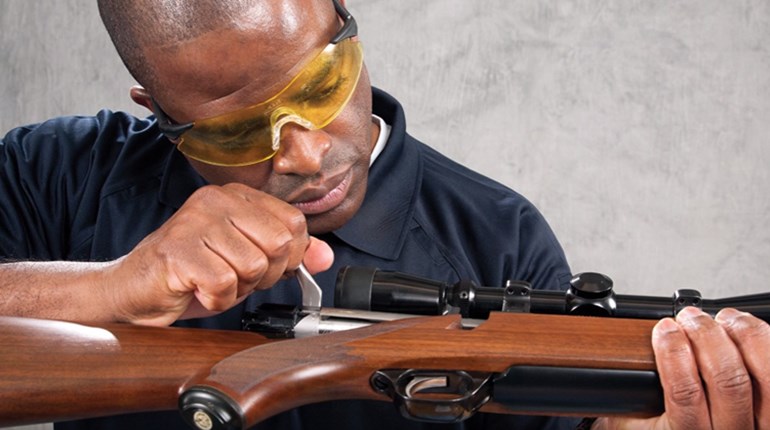
2. Disassemble the firearm, removing the bolt in rifles. If possible, remove the slide and barrel in semi-auto pistols, and remove the barrel in the case of shotguns.
 3. Run a solvent-dipped brush forward through the barrel (breech to muzzle) 12 times. Attach the proper size brush to the cleaning rod.
4. Run solvent-soaked patches attached to a jag or slotted rod attachment through the barrel until all residue is removed. Replace the dirty patch with a clean patch and repeat this step until a patch exits the barrel clean.
5. Run dry patches through the barrel until all solvent is removed and a patch comes out dry. 
6. Use solvent-soaked patches and scrub brushes to wipe down breech, chamber and any internal parts that are accessible.
7. Use appropriate brushes, picks or other cleaning implements to remove residue from tight places in the firearm.
8. When all residue is removed, use dry patches or rags, and remove all solvent.
9. Run an oil-soaked patch through the barrel to thoroughly coat the inside. 
10. Use an oil rag or oiled patch to wipe down the slide, chamber and any other internal parts that are accessible.
11. Run dry patches through the barrel until a patch comes out dry.
12. Using a dry rag, remove any excess oil from the slide, chamber and any other internal parts that were previously oiled.
13. Reassemble firearm and operate the action to ensure proper assembly and operation.
Key Points to Remember
- Clean the barrel from the breech to the muzzle.
- Never pull a dirty patch back through the barrel; after you run a patch through the barrel, remove and discard the patch before pulling the clean patch back through the barrel.
- If a barrel cannot be cleaned through the breech end and must be cleaned from the barrel, use a muzzle guide to prevent damage to the crown of the muzzle.
- Use metal brushes on metal parts and nylon brushes on nylon parts.
- Excess oil attracts dust and can interfere with the proper operation of the firearm.


