Processing your own game at home offers plenty of benefits, but if you’ve never done it before, it can feel a little overwhelming. The truth is, it’s simpler than you might think and doesn’t require as much time as expected. Plus, it saves money on processing costs, lets you take pride in bringing your hunt from field to table, and can even involve your family in meaningful ways.

Step 1: Know the Rules
Before anything else, familiarize yourself with the regulations. Most states prohibit transporting full carcasses across state lines due to concerns over Chronic Wasting Disease (CWD). This means that if you hunt in one state and live in another, you’ll need to debone your deer where you harvested it.
- Remove all brain and spinal material, clean the skull plate, and fully debone the meat on-site.
- Use a vacuum sealer like the MaxVac Go (check it out here) to package your meat into manageable portions for transport. Watch it in action here. I personally like this one because it can be charged ahead of time, doesn’t need a plug in and has enough battery life to do an entire deer.
- Keep your tag and proof of sex in a sealed bag alongside the meat. Pre-freeze everything solid before travel to keep it cold for the journey home.
If you don’t have time to process it immediately when you return home, place the frozen vacuum sealed chunks of meat in your deep freeze. When ready, thaw it, cube and grind it into burger at your convenience.


Step 2: Making the Most of Your Meat
Our family goes through venison burger the fastest, so here’s our typical approach:
- Backstraps and inner loins are kept whole for grilling or other recipes.
- The remaining meat is cubed and prepared for grinding.
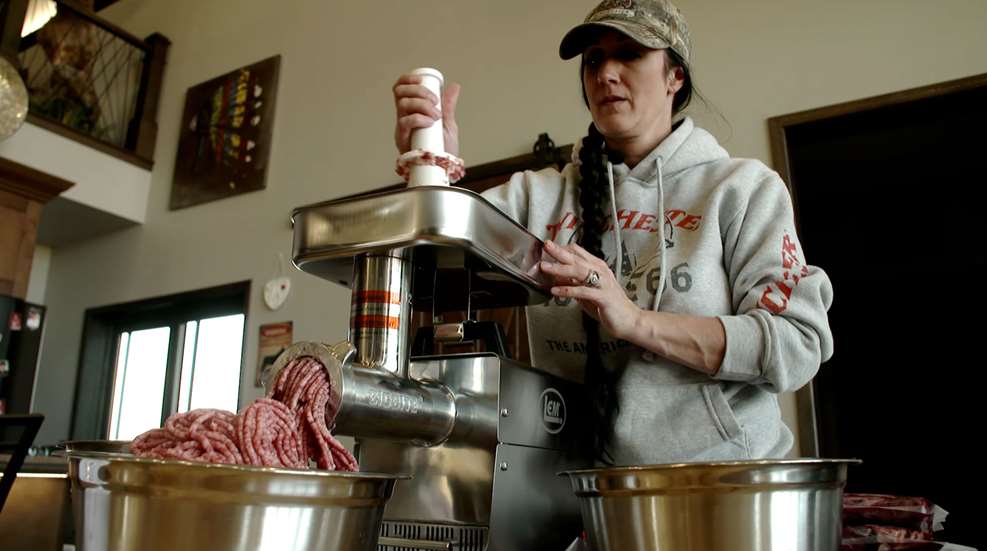
When grinding venison, we prefer beef fat over pork fat for longer freezer life. Mix the venison and beef fat at an 80/20 ratio for the best consistency. This year, we used the LEM Big Bite #12 Grinder (check it out here). It’s efficient, quiet, and makes the process simple. Watch our grinder in action.
For packaging, vacuum-sealed bags work best. Flatten the bags for easy stacking and quick thawing. We also use game bags from time to time, but over the years I’ve decided the flat vacuum sealed bags are my favorite way to store our burger.


Step 3: Exploring Jerky and More
This year, we tried making all-muscle jerky by slicing some of the meat very thin, curing and seasoning it, and then dehydrating it for about 4 hours. The result was excellent! For this, we used the LEM 10 Tray Stainless Steel Dehydrator (learn more here). Watch our dehydrator in action.
For a family favorite backstrap recipe, try our Grilled Venison Steak with Balsamic Morel Sauce (recipe here). Even the kids love it!

Step 4: Involving the Family
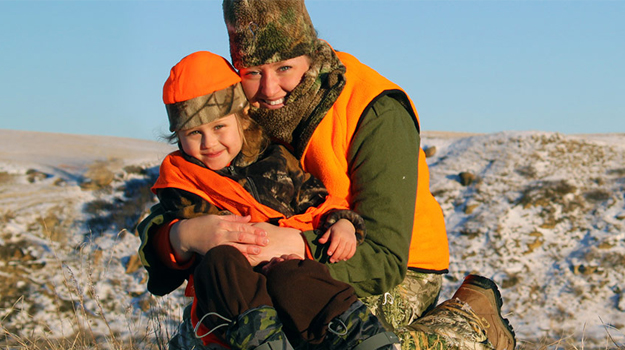
Processing venison has become a family tradition for us. This year, Jax and Bella joined in, helping every step of the way. Kids love to be involved, and it’s a great learning experience for them.

We even delivered fresh ground burger to elderly neighbors in our community, which made Jax especially proud. He couldn’t wait to tell them he’d helped every step of the way and guaranteed them it was the best burger they’d ever taste, which I would have to agree! Fresh burger really does hit differently, plus its extremely healthy as well.

Final Thoughts
Processing your own deer is a rewarding way to complete the hunting experience. Whether it’s grinding burger, making jerky, or enjoying a perfectly grilled backstrap, the process is simpler than you think and brings the satisfaction of truly providing for your family. Give it a try—you might just create new family traditions along the way!
