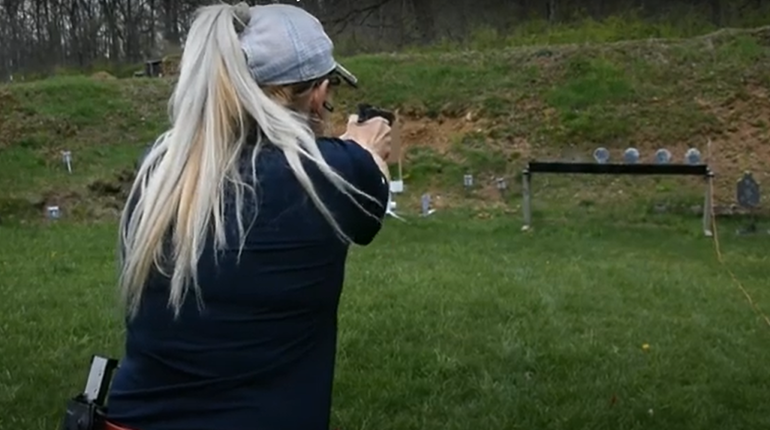
Assuming you’re not brand-new to the internet, you probably know that one of its primary uses is to foster arguments about random things that pit assorted fanbases against each other. In the gun world, there are a few common arguments you’ll come across (looking at you, 9 mm vs .45), and one of the biggies is the argument about how you should stand when you shoot a handgun.
Newflash: No one is “right” in this argument, although if you look hard enough, you’ll find some people who are flat-out wrong. The bottom line is there are a number of accepted stances, and they all work well in different situations. We’ll take a look at the three most popular—but first, some not-to-dos regarding stance and grip:
- Don’t wing it. Try all three stances, then pick one as your primary go-to. Don’t just pick up a gun with no guidance and stand however you want, as you’ll likely be sacrificing effectiveness and maybe comfort.
- Don’t teacup it. It’s pretty natural for an inexperienced shooter to rest their trigger hand on top of their support hand like a teacup sitting on a saucer, which actually offers you no support at all. Don’t do that.
- Don’t limp-wrist it. You want to use a solid stance and a firm grip to give the gun something to recoil against—without it, the gun will recoil upward and the action of a semi-auto might not function properly, leading to jams.
Now, onto the three stances.

Weaver
Considered old-school by many, Weaver is a bladed, bent-arm stance invented in the 1950s. Here’s how you get into it:
- Position your feet in a boxing stance, with the non-shooting-side foot in front, toes pointing forward, and the shooting-side foot behind, toes pointing slightly to the side.
- Put most of your weight on your front foot and lean forward slightly at the hips. Your body will “blade” the target, meaning you’ll be at an angle instead of facing it straight-on.
- Extend your shooting arm forward, straight, but do not lock the elbow. Bend the elbow of your support arm straight down.
- Push forward with your shooting hand while pulling back with your support hand. This push-pull tension creates stability and increases control.
Weaver is a very stable stance, which makes it ideal for any kind of defensive situation. Because the weight is on the front leg, you are not easily knocked off-balance by an opponent or by recoil. The bladed posture and bent arm also make it easy to pivot and address targets that appear to your strong side. However, if you need to move, it can be difficult to do so easily and still maintain the bladed posture and weight-forward balance of Weaver, and it can also be difficult to pivot your body and shoot at a target on your weak side without moving your feet.

Isosceles
The first time my daughter shot a handgun (at age 8), we taught her about proper grip, but we didn’t tell her anything about how to stand. She naturally adopted an Isosceles stance, because it feels intuitive to first-time shooters—one of its advantages. Here’s how you get into Isosceles:
- Stand facing the target with both feet on the same line, pointing forward, about shoulder-width apart. Bend your knees slightly. You can lean forward a bit at the waist if you like.
- Point both arms straight out. Your chest and arms will form a triangle when viewed from above—hence the name “Isosceles.” Most shooters, but not all, will lock the elbows.

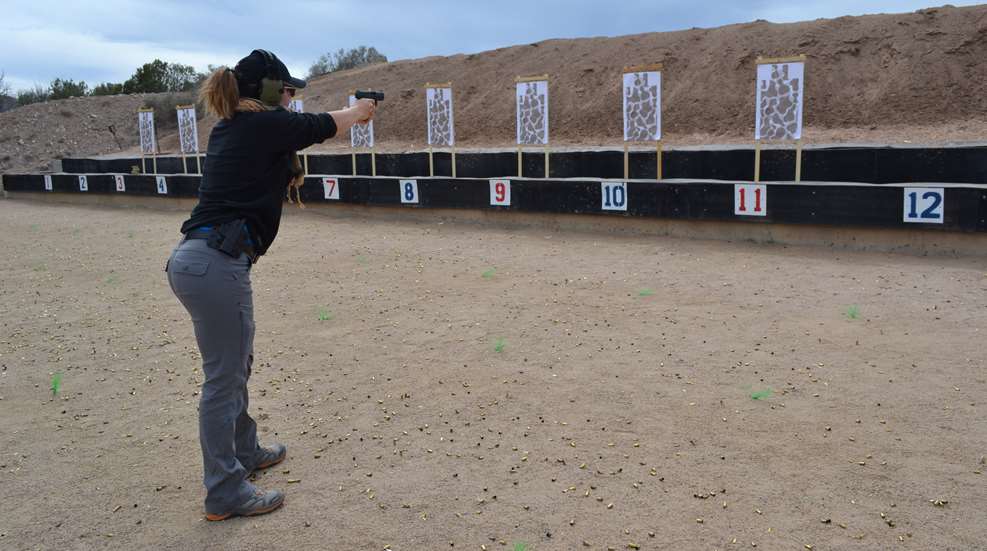
Isosceles provides equal peripheral vision on both sides because you’re square to the target. It’s quick to get into, and it provides a good, even base to manage recoil. You can move your entire body in any direction pretty easily. The downside of Isosceles is that your body itself is not extremely stable. Because your weight is evenly distributed and your feet are both directly below you, you can be knocked off-balance in a defensive situation. In a self-defense scenario, with your entire torso square to the threat, you present a larger target to anyone shooting back at you.

Fighting Stance
This stance goes by a number of names, including “Power Isosceles,” “Modified Weaver” and “Modified Isosceles,” although those two names also have other definitions. You might also see a Fighting Stance described differently than what you see here. But whatever you call it, this stance combines Weaver and Isosceles to take advantage of the best parts of both. Here’s how you get into it:
- Put your shooting-side foot about eight inches behind you—your feet shouldn’t be as aggressively far apart as they would be in Weaver, but just enough so that you can put a little more weight on your front foot and feel stable. Your feet should both be pointing forward, but it’s ok if the toe of your rear foot angles out a bit. You do not want to be blading the target.
- Keep your knees slightly bent, not locked, so you maintain flexibility.
- Lock your arms out in front of you as you would in Isosceles.
This stance is fast to get into and gives you the great body balance Weaver offers while maintaining the recoil management of Isosceles’ straight arms. It’s also pretty easy to move around and pivot as needed.
Others
You might also read about Chapman, which is essentially a less aggressive form of Weaver, and you can consider this if Weaver feels a bit stiff to you. More advanced or specialized stances include Center Axis Relock, which is the close-quarters-only, gun-close-to-the-face stance Keanu Reeves uses in John Wick, and a few one-handed stances like Power Point and Strong Hand Retention Stance, which you’d only want to use in an emergency situation where both hands are not available or when you need to shoot so quickly out of a holster that you don’t have time to adopt a two-handed stance.
