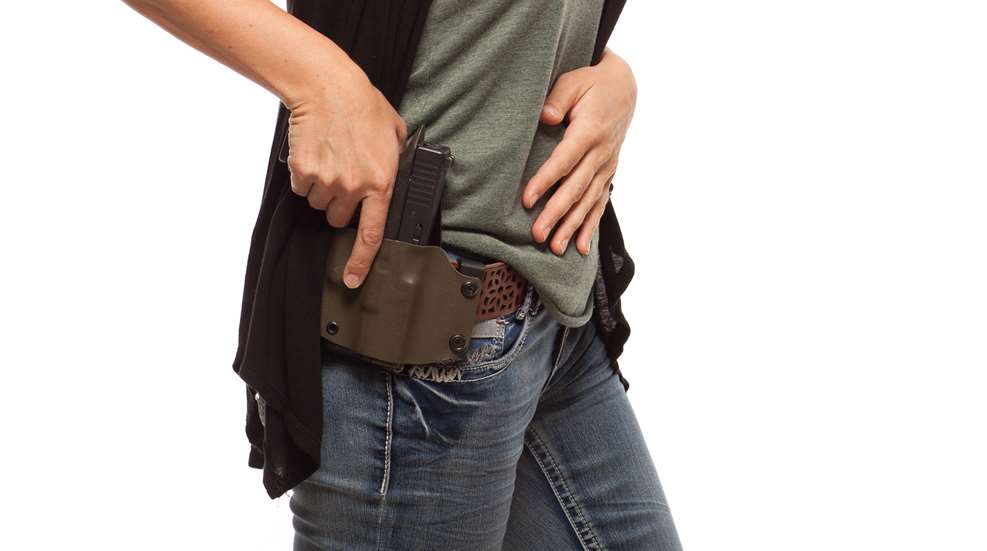
Carrying a concealed firearm can be an important part of your self-defense plan, and there’s a lot that goes into it. You need to select a gun that you are able to shoot quickly and accurately. You need to figure out a carry system that is safe, concealable and comfortable. It has to work with your clothing choices and lifestyle.
Most of the time we spend with a personal self-defense gun is while we’re carrying it, so it’s important to get that part right. That’s why there are so many resources devoted to doing it in the most effective way possible. You may have discovered that one of the principal features of a carry system, after providing protection to the trigger guard, is keeping your handgun in a stable and accessible position.
This is vital because if you need to actually use your gun to defend yourself, it’s the key to drawing your gun quickly and shooting it accurately right away. Fortunately, there are a number of strategies that you can use to get better at drawing your gun from concealment—and not all of them require going to the range.
Break It Down
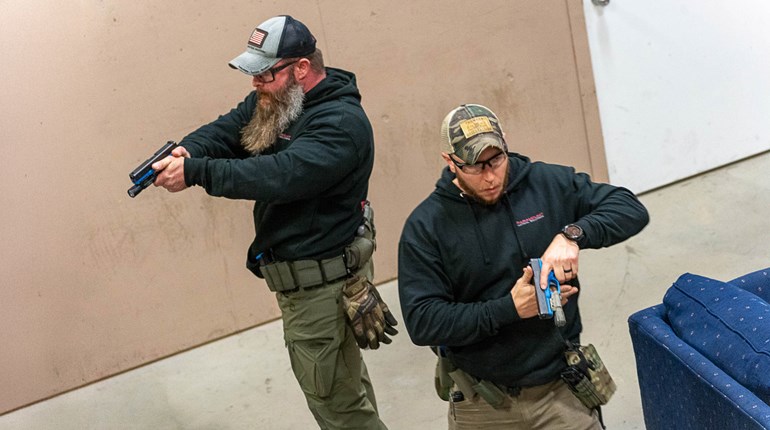
When you’re learning how to draw a gun from a holster, it’s common to start with a series of steps. They differ from instructor to instructor, but will generally include gripping the gun in the holster, taking it out of the holster, with the muzzle continuously pointing in a safe direction, getting both hands on the gun, aiming and pressing the trigger.
It’s easy, and common, to run into problems when you start trying to string it all together—especially when you make it harder by trying to draw and fire your gun faster, under stress or with new gear.
When you find yourself flustered by attempting the entire draw at once, the first thing you should try is breaking it down into its component parts. Instead of practicing the complete draw all the time, do just parts of it over and over until you get it right.
Fortunately, except for actually shooting rounds downrange, you can practice all of that in the comfort of your own home. It will require an empty gun (or gun substitute like a blue gun or laser pistol), and a safe backstop that a bullet can’t penetrate. You might even choose to have a complete backup set of your carry gear for practice, so you don’t have to take your actual, loaded carry gun out of its holster in order to practice.
The first thing you should do is begin with a fully unloaded, empty gun for your practice—important every time you change anything about your carry setup—is getting a grip on your gun while it is still in the holster. Work on what you need to do to get your cover garment out of the way and get your firing hand gripped onto your gun. Getting that piece of your draw right is paramount to the entire draw stroke being successful, so working on it regularly is key.
Now, using your fully unloaded, empty gun, you can practice the rest of the draw stroke. Start each step with where you ended before. That means start with your firing grip established with your shooting hand, gun in holster, then work on getting the gun out of the holster, joining both hands on the grip of your gun, and finally pointing the sights at the target. Don’t press the trigger yet.
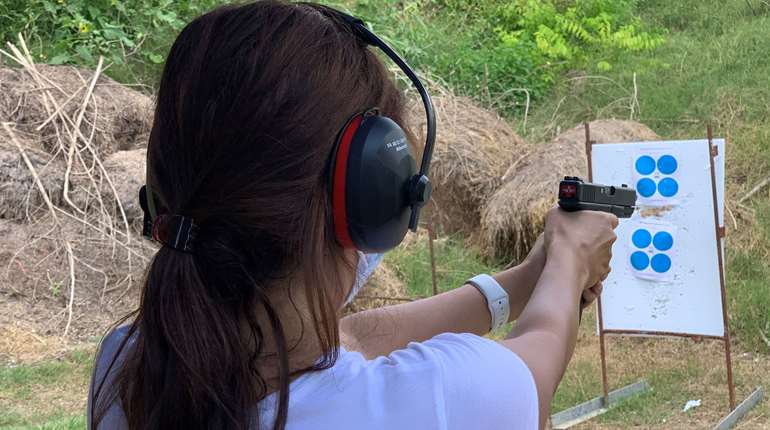
After you’ve perfected your draw, it’s time to work on pressing the trigger. Once again, you must verify that your firearm is unloaded … then check one more time for good measure. With your gun already held in a good grip and sights already on target, you can work on just pressing the trigger smoothly and without disturbing the sights. When you get to the range, you can do this with a loaded firearm to make sure the shots land on target where you want them to. Either way, this is the part where you can worry less about speed because the faster you draw the gun, the more time you have to make the shot.
As you can see, breaking the draw down into its component parts allows you to focus on each piece without worrying about a mistake made early in the process or the challenge of a later step. This allows you to perfect each step of getting your gun out and making that first shot before putting them back together in one smooth motion.
Being able to draw your gun safely and smoothly isn’t the only important part of defending yourself with a concealed firearm. You also need to be able to do it quickly.
Make It Fast
Of course, being able to draw your gun safely and smoothly isn’t the only important part of defending yourself with a concealed firearm. You also need to be able to do it quickly.
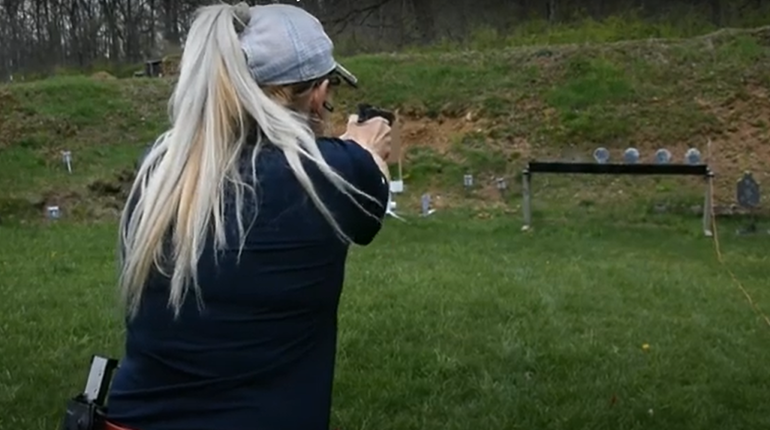
It will take some hard work to get fast at drawing your gun, but everybody is capable of getting from “gun in holster at waist/hip level” to “accurate shot on target” in under 1.5 to 2 seconds—even faster.
To get there, one of the first things you need to do is decide that you want to be fast. You need to commit to drawing the gun quickly, instead of taking your time with every movement. It might mean that you will make some minor mistakes when you are practicing, but learning how to work through them and then to not make them in the future is part of the process.
You also need to start practicing your draw under pressure, especially from some sort of start signal. It doesn’t have to be more complicated than a buzzer or timer on your phone, or a partner telling you when to go. Try to keep the timing unpredictable, though!
Another tool you’ll need is a shot timer or stopwatch. By setting a par time—a set amount of time within which you want to finish a task—you can work on getting faster and faster by decreasing the par. The timer should beep at the beginning and end of the par time. You’ll start by guessing a time, then seeing if you can complete the task within that time. If it’s easy, then you can lower the time until it becomes challenging.
Over time, you’ll find that par time becomes easier and you’ll need to lower it again. Remember—you might not be perfect every try, and that’s OK. Make sure you don’t sacrifice safety and keep trying, both at faster and slower times than your normal par time. At faster times, allow for more mistakes. At slower times, try for more precision.
And don’t forget my first set of hints about getting better at the draw—break it up into parts. You can work each piece of the draw on par times, then bring them back together.
Finally, remember that as you get better at drawing the gun, you need to pay the most attention to safety by not allowing the gun to cross your body—especially your other hand. The goal is to quickly draw and point the gun at the target so you have more time to shoot accurately.
About the Author: Annette Evans is the Beauty Behind the Blast and founder of "On Her Own," a project for women navigating the world solo. When not studying shooting and self-defense, she is a competitive shooter who goes to the gym too much. Annette is also an NRA- and Rangemaster-certified firearms instructor, author of “The Dry Fire Primer,” and a commercial attorney in her spare time. Her cat's name is Tuna.
