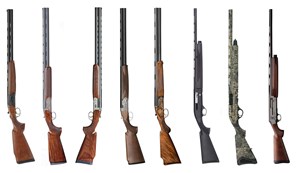
Bluing is more than a beautiful finish on a firearm. It also serves as a functional protective layer that resists rust and other factors that could cause damage.
The process of bluing is not a technique only known to gunsmiths. Many people have conducted a bluing process, but never realized they were doing it. For example, if you have ever seasoned a cast iron skillet, you have effectively “blued” it. A cast iron skillet that is properly seasoned has a glazed coating that looks like bluing on a firearm. A properly seasoned cast iron skillet is also rust resistant and non-stick. The difference is that you are using cooking oil instead of gun oil, but the outcome is relatively the same.
Bluing is a passivation chemical process that protects against rust by putting a layer of black oxide coating on top of the metal. Passivation is making metal unreactive by altering the surface layer or by coating the surface with a protective coating. Bluing is also known as black oxidizing. This type of finish ranges in color from a very dark blue to black, which gives the process its name. It is created by an electrochemical conversion coating that causes an oxidizing chemical reaction with iron. The result is the black oxide of iron called magnetite. There are six methods of bluing a firearm’s metal parts. These are hot bluing, cold bluing, rust bluing, niter bluing, flame bluing and charcoal bluing.
Hot Bluing 
Hot bluing is the most common process for bluing a firearm. This method is the most durable and gives the best protection to the firearm. First, the firearm is disassembled and cleaned. The gun parts are then soaked in warm bluing solution for about 30 minutes. The bluing solution is a caustic salt mixture of potassium nitrate and sodium hydroxide and is warmed to 300 degrees Fahrenheit. The parts are then rinsed and dried and placed in boiling water for about 45 minutes. The last step is to soak the parts in an oil bath for about an hour. The newly blued gun is now ready for reassembly.
Cold Bluing
Cold bluing is a process that does not require heat. It provides the least protection of all the bluing techniques. This type of bluing also does not hold up well if the firearm is carried in a holster. Cold bluing is more effective when doing small areas on the firearm. It is good for touching up areas if the gun is oiled on a regular basis. To cold blue, the part of the firearm to be blued needs to be thoroughly cleaned then sanded smooth. The bluing compound is then applied to the area. The bluing is then lightly sanded to blend in. Gun oil can then be applied to the area.
Rust Bluing
Rust bluing is a slow process and is usually performed on the very finest of firearms. The bluing process is started by thoroughly degreasing the parts. Next, a very thin application of rust bluing solution is applied evenly to all the metal parts. The parts are then hung in a humid area for about one hour to start the rusting process. Most use a damp box with controllable heat and humidity. After the parts begin to rust, another thin layer of rusting solution is applied. The parts are then rehung in a humid spot or placed in the damp box until all the parts develop a uniform coating of rust. The parts are then submerged in boiling water for about 30 minutes. This turns the red rust to black. The metal parts are then sanded with steel wool. The whole process is repeated up to ten times until a dark satin finish is achieved. A generous amount of gun oil is then applied to all the parts and the gun must sit for 24 hours. The last step is removing all the oil with a rag, reoiling, then wiping clean again. As you can see, this is a very time consuming and expensive bluing process.
 Nitre Bluing
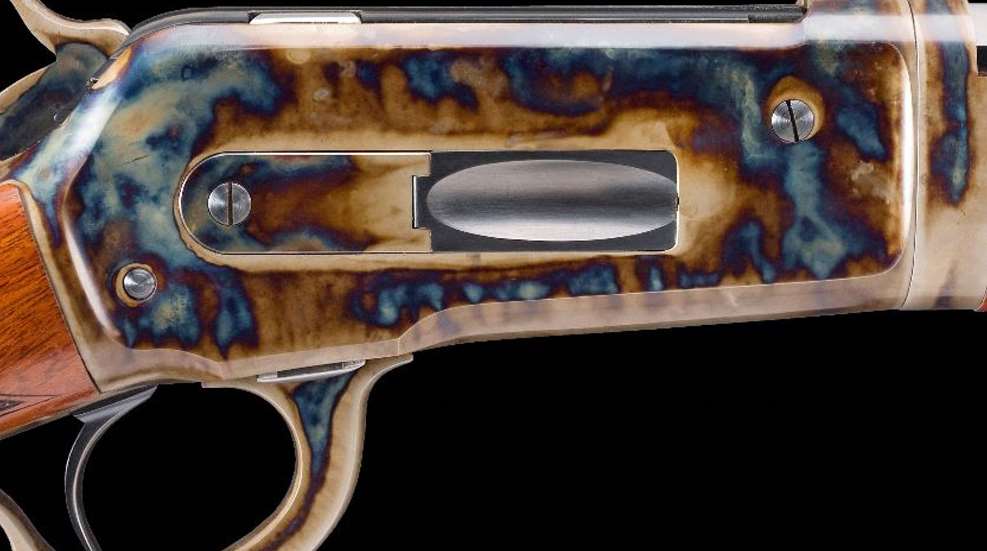
Nitre bluing is a decorative bluing process for metal gun parts. To blue a gun using this method, you must use nitre bluing salts. These salts are the color of cotton candy. This is a high heat process that adds beautiful colors to gun parts like the screws, barrel bands, etc. Colors can range from a yellow hue to purple to electric blue. To achieve these colors, the metal parts are placed in a solution heated to 600 degrees Fahrenheit. The extremely high temperatures create high pressure, so parts such as barrels, bolts and receivers should never be nitre blued. Often you see this in parts of high-end firearms and on single action revolvers like Ruger, Uberti and Pietta. Nitre bluing adds a touch of class to any firearm!

Image courtesy TurnbullRestoration.com
Flame Bluing 
Flame bluing is similar to nitre bluing in that it is only used on parts that are not under high pressure. Usually flame bluing is used to add accents to small parts such as screws, cylinder pins and barrel bands. All you need to flame blue is a heating torch, a bowl of gun oil and a pair of forceps or needle nose pliers to hold the part. Hold the part with the pliers and heat with the torch. The part will change colors at about 400 degrees Fahrenheit, starting with yellow, then changing to brown, and then reaching a deep blue at about 600 degrees Fahrenheit. Once you reach the color you desire, quickly submerge or quench the part in the oil until cool.
Charcoal Bluing 
Charcoal bluing was the traditional bluing used on many of the vintage firearms such as Colt, Winchester and Henry. Charcoal bluing is now used on higher-end guns and “Old West” guns. The process for charcoal bluing involves “cooking” the metal parts of the gun at 800 degrees Fahrenheit in charcoal for several hours. After the gun has “cooked,” the metal parts are removed from the coals and vigorously rubbed with powdered lime. This heating process tempers the metal while bluing it at the same time. The metal parts are polished until they achieve the deep black-blue color as seen in early revolvers.
