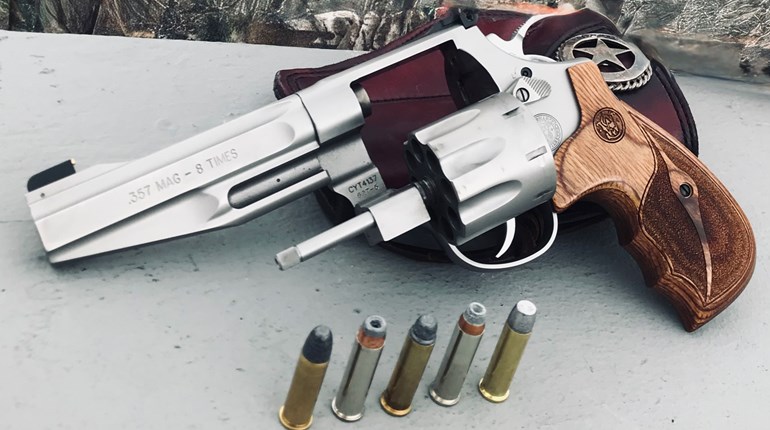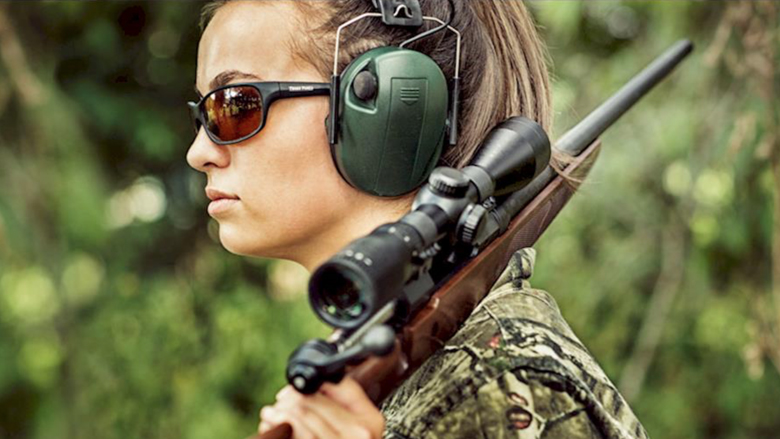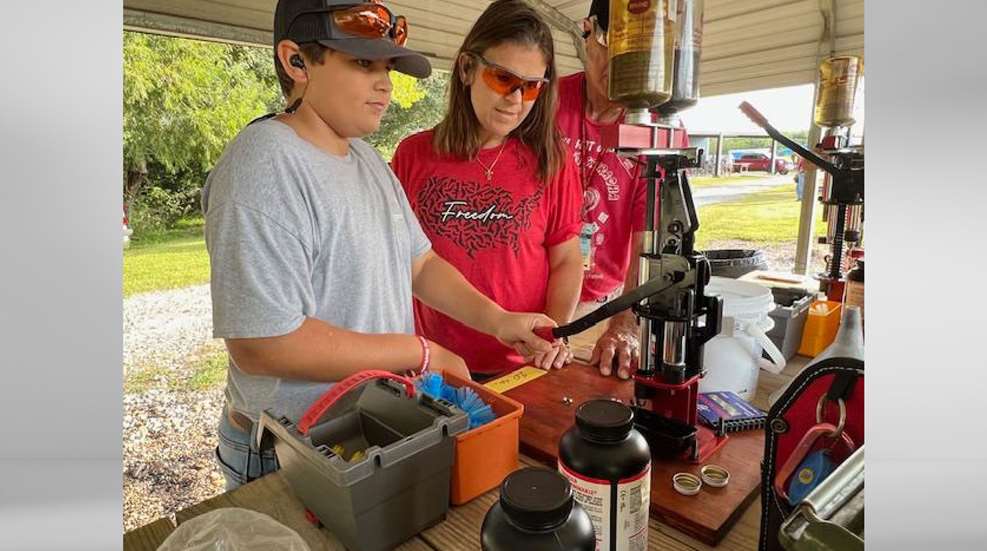
Reloading can help reduce the costs associated with shooting. If you shoot a lot, reloading will help you save a lot. While more and more women are carving their place in the shooting sports, men still dominate the reloading world. But this, too, is changing and women are slowly getting into reloading.
From the outside, reloading can appear intimidating and confusing. In reality, it is a safe and easy activity that can enhance your shooting experience. If you are thinking about getting into reloading, a good place to start is by taking an NRA Metallic Cartridge or an NRA Shotshell Reloading Course.
Reloading your own cartridges can be done in seven easy steps: cleaning the brass; lubing the brass; resizing and decapping the brass; prepping the brass; priming the brass; adding the powder charge; and seating and crimping the bullet. That’s all it takes to reload—shoot, collect your spent brass, and load them up again!

1. Cleaning the Brass
The first step in preparing brass for reloading is to clean the case. This removes debris from the brass and restores it to its original finish. Reloaders clean their brass for several reasons. The most important is to allow the reloader to inspect the brass for any splits, cracks, dents, weak spots or other imperfections that can lead to case failure or head separation.
Another reason to clean brass before reloading is to prevent damage to the reloading dies. Reloading dies are expensive and can range from $50 to more than $100 a set depending on the caliber and number of dies in a set. Debris can score the inside of a die and affect the desired reset of the dimensions brass needs to be safe to shoot.
Lastly, debris can affect the ignition of the primer and powder. The flash channel must be clear so the flash from the primer reaches the powder charge. Additionally, debris in the case can cause inconsistent velocities between discharged rounds, because debris can take up space and can also cause inconsistent powder ignition as it burns.
There are two common types of tumblers: vibratory and rotary. Vibratory tumblers use a walnut or corn cob medium to clean brass. Rotary-type tumblers use water, cleaning agents, and a stainless-steel medium. Vibratory are quicker but are noisier and can create dust. Rotary cleaners take longer to clean but are quieter and cleaner.
2. Lubing the Brass
It is very important to lube the brass before resizing the brass. Lubing the brass prevents the case from getting stuck in the dies. Stuck brass can be very difficult to remove and in extreme cases, can damage the die.
There are carbide die sets that eliminate the need for lubing the brass in some instances. If using a carbide die, lubing may not be necessary on straight wall cases, but lube is advisable with necked cases. Even with carbide dies, it is still better to lube than not to.
Brass can be lubed with a lubing pad or aerosol spray made for reloading. The cases should be lubed inside and out, especially with necked cases. Case necks are lubed with a neck lube brush.
3. Resizing and Decapping the Brass
Resizing brass is important because, during the firing process, cases stretch and deform. This happens when the brass is stretched forward to fill the chamber, stretched rearward to press against the bolt face, and expands to press against the chamber walls. All this stretching and deforming allows the case to create an airtight and sealed chamber to prevent the gasses from escaping to the rear and forcing all the pressure through the barrel and out the muzzle.
To resize brass, a case is placed in a shell holder in the press. The appropriate resizing die is screwed into the top of the press. The lever is pulled down and the ram rises, running the brass through the die. This resizes the brass diameter and “decaps” or knocks out the spent or old primer.
4. Prepping the Brass
Case prep is a very important step with rifle brass and high-pressure handgun rounds such as magnum cartridges. Handgun brass in 9 mm, .45 ACP, and other lower-pressure calibers may not need to be prepped, and this step may be skipped. If you are reloading brass that may not need to be prepped, periodic checking of case lengths should be performed to ensure the brass is within safe operating lengths.
Case prep is very important to maintain brass at safe operating levels. This includes using a dial or digital caliper to determine if the case is still within safe overall case lengths. If the case is too long, it needs to be trimmed. This is done with a small manual lathe called a case trimmer.
Once the brass is trimmed, it must be deburred and chamfered. Using a deburring tool, any burrs are removed from the outside of the case opening. The chamfering tool is inserted inside the case neck and preps the inside of the opening. The last step is cleaning the primer pocket. A pocket tool is used to remove debris in the pocket and flash channel.
If the case is a straight wall cartridge, the case mouth needs to be expanded. This allows the opening of the case to be belled outward to allow the bullet to sit in the mouth of the case before it is seated. This is done with an expander die. An expander die is screwed in the top of the press, replacing the sizing and de-capping die.
5. Priming the Brass
Priming the brass is when the primer is seated in the head of the cartridge. Priming is done with a manual hand primer or in the press. Hand primers are used separately from the press where the case is removed from the reloading device. Priming with the press is performed by activating the lever and seating the primer.
There are two sizes and four types of handgun and rifle primers. There are also shotgun primers. Of handgun and rifle primers, there are small pistol and rifle primers that have a .175” diameter cup. The other handgun and rifle primers are large and have a .210” diameter cup. Additionally, there are magnum small pistol and rifle primers and magnum pistol and rifle primers.
6. Adding the Powder Charge
Extreme caution should be used when adding the powder charge to the case. Reloaders should always consult reloading manuals and charts to determine the right type of powder charge and the right load. There are three types of smokeless powder: flake, extruded and ball powder.
Smokeless powder can be measured with several devices: measured scoops, manual powder measures, and electronic scales. It is advisable to periodically use multiple devices for redundancy to check accuracy. Once you are satisfied with your load from a specific device, you should double-check your weight with every 10 charges.
Reloading manuals will list the acceptable powder brands and the minimum and maximum load charge. It is advisable, especially if you are just starting to reload, to stay in the middle range of charges. As you gain experience, you can move through load ranges but never exceeding or going below the suggested save loads.
7. Seating and Crimping the Bullet
Once you have primed the case and added the powder charge, it is time to seat and crimp the bullet to complete the reloading process. A seater die is screwed into the top of the press. The seated die seats the bullet in the case and crimps it to hold it in place. Start with the seater a little high so the bullet is not seated too far into the case.
When the bullet is seated, a dial caliper should be used to determine if the overall length of the case falls within the safe range. If the overall length is too long, adjust the seater a little deeper and push it further into the case. Once the proper depth of the seater is determined, it can be locked into place to ensure that the overall length of the cartridges you are reloading is consistent.
Reloading is a safe and enjoyable hobby, as long as you take your time and follow the recommended safe lengths and powder loads found in reliable reloading manuals. Safety is the most essential part of using and operating firearms as well as reloading your favorite cartridges and shotshells. Serious shooters eventually become serious reloaders!


