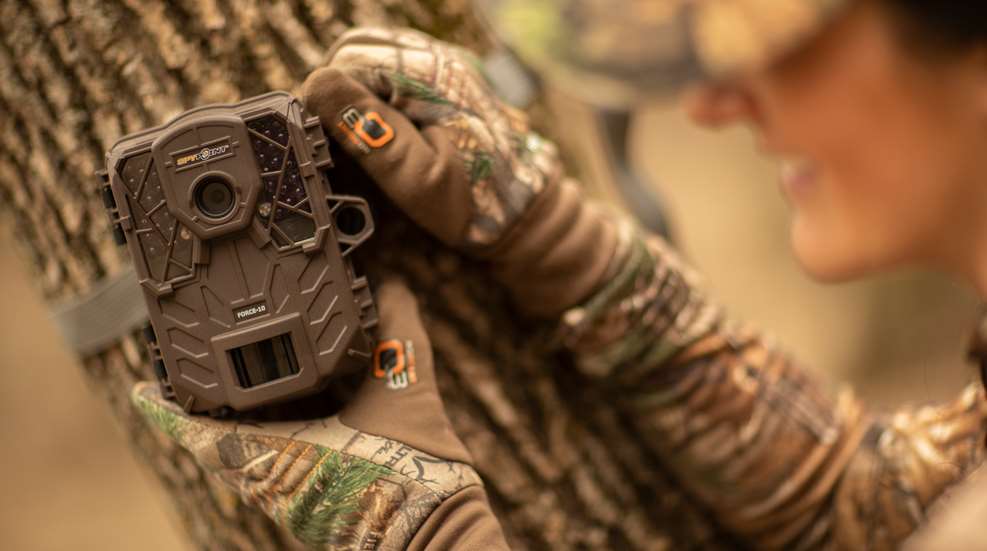
Trail cameras have become an incredible scouting tool, especially for those of us who would like to be out watching deer more than our schedules allow. The key with trail cameras, however, is placing them in the correct locations in order to improve both the quality and quantity of photos.
Over the years I’ve learned a lot of tips and tactics simply based on trial and error. There are also other factors, such as time of year, the state you live in and its rules, and the type of ground you have access to.
Here are a few general guidelines to help with your trail camera placement this year. As always, be sure to check your local regulations for the legal use on trail cameras in your area.
1. Location
For trail cams, their placement is probably the most important decision you will make. Always try to find an area that the deer are frequenting, or a cross section of deer trails. Other great places you can put cameras are on a fence gap, food source, water source, mock scrape, rub post, natural rub, bait or mineral site, or even a fence letdown. If you don’t have these on your land, many of these can be created. Most deer are looking for the easiest path, so if the fence isn’t being used for cattle you can lower it in an area where deer naturally go by and they will start crossing at that point for example. Elk will do this as well.

2. Trail Cam Height
Remember that the sensor on the camera has to be triggered, so if you place a camera facing downward from a high up place, there is a very small area where the camera will snap a picture. I usually place mine about hip height and do a couple of practice photos to ensure the setup is exactly how I want the photos to look.

3. Sun
Always be aware of the direction you’re facing your camera. If you face it straight into the morning or evening sun, many of your photos will be overexposed and too bright. Try to angle it slightly away from the east or west for best results.
4. Clear Area
We have a hand weedcutter that we can swing to remove excess branches, weeds and other things that will cause a camera to trigger in the wind. This is a very important step to ensure you’re just getting pictures when game is in front of your camera, not just every time the wind blows.

5. Settings
Most cameras have sensitivity settings on them, so play around with this. I usually keep my sensitivity up to start and if I’m getting too many photos I’ll back it down. This just ensures the camera triggers with the slightest movements. Also determine how long of a delay you want on your camera. The delay is the amount of time the camera resets between photos. During the rut I recommend keeping this as fast as possible, because many times a doe will come through, allowing you to get that photo, but you also want the picture of the buck chasing her. However, if you have a bait pile out or something that causes the deer to hang around for quite some time it can lead to too many photos being taken. In this case, you may want to wait a minute between photos and adjust accordingly.
6. Safety
Most camera companies have created lockboxes for your cameras, and this can be extremely helpful. I’ve found that elk, cattle and bear all have a tendency to knock down cameras and destroy them. Also if you hunt in an area where other hunters may be coming through, a lock box can be helpful to protect your valuable data and camera.
7. Card Space
Most cameras will give you the specs of the size of card that can be used. I generally recommend using the largest size card possible, especially if you’ll be utilizing the camera's video feature as well.
8. Battery life
Camera battery life has become very impressive over the years, however I’m still a big fan of using solar-powered cameras whenever possible. The investment upfront when purchasing a camera pays for itself over the first year in the fewer amount of batteries you’ll run through.
9. Less is More
It’s super exciting to want to check cameras, but this is an instance where less is more. I use SpyPoint cameras, and they have the option for cellular cameras, which send you the photo. I love this because now I get to see in real time what is coming by my cameras without having to go to the site and disrupt everything. If you don’t have a cellular camera, remember that you don’t want to be going in disrupting your setup too often. When you do, be sure to keep scent to a minimum by spraying yourself down with Scent Killer Gold just as you would when you go out hunting.
10. Adapt 
As the season progresses, remember that your trail cameras may need to change as well. If you see a new rub or scrape for example, get a camera on them. If a food source that was getting a lot of activity seems to go dry, switch it up and try to move them to where you’re seeing the deer. I typically keep a camera in my hunting pack as well, just in case I see a lot of activity while on the stand. That way, I can quickly get that camera in place and see what’s coming through. Another great option is using scents to attract the deer (and other animals) right in front of your camera. Wildlife Research Center has introduced the Active Cam, which is a scouting scent. If you live in a state that doesn’t allow baiting, this is another option to bring those animals to a precise location and get photos.
Trail cameras are not only a great scouting tool, but it’s a blast to get the entire family involved. We take our son Jax out with us all the time to hang cameras, and even now he loves looking at the photos. It doesn’t matter if it’s a big buck, bobcat, elk or something else, he’s excited to see the photos.


